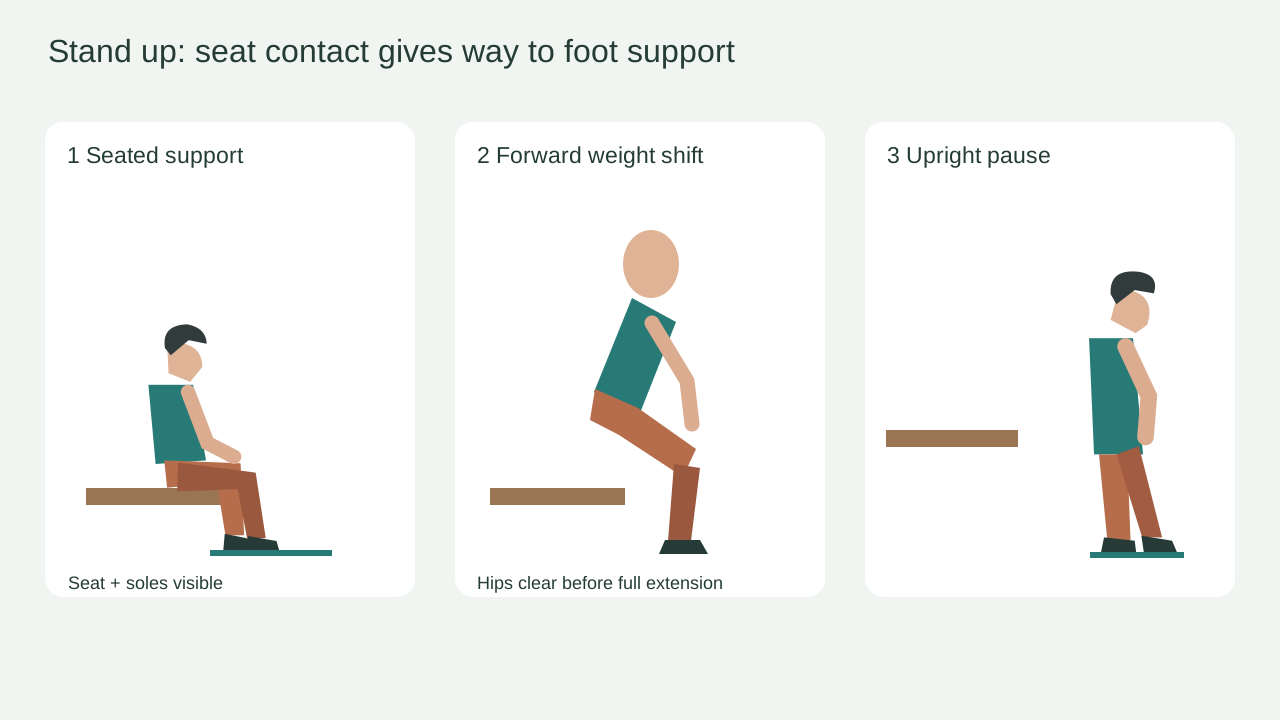
The adult floats straight upward
Change only the action sentence to emphasize the forward weight shift before the hips leave the seat; retain the fixed view for comparison.
Task template
Describe one slow rise from a chair in a fixed side view. The visible support sequence matters more than an exact joint angle; this is a visual motion exercise, not a medical, ergonomic or biomechanical assessment.
Includes original practice inputs and a review checklist. This prompt has not been independently tested with the generation model.
Download the input image below and upload it manually in the generator; the button carries the prompt.
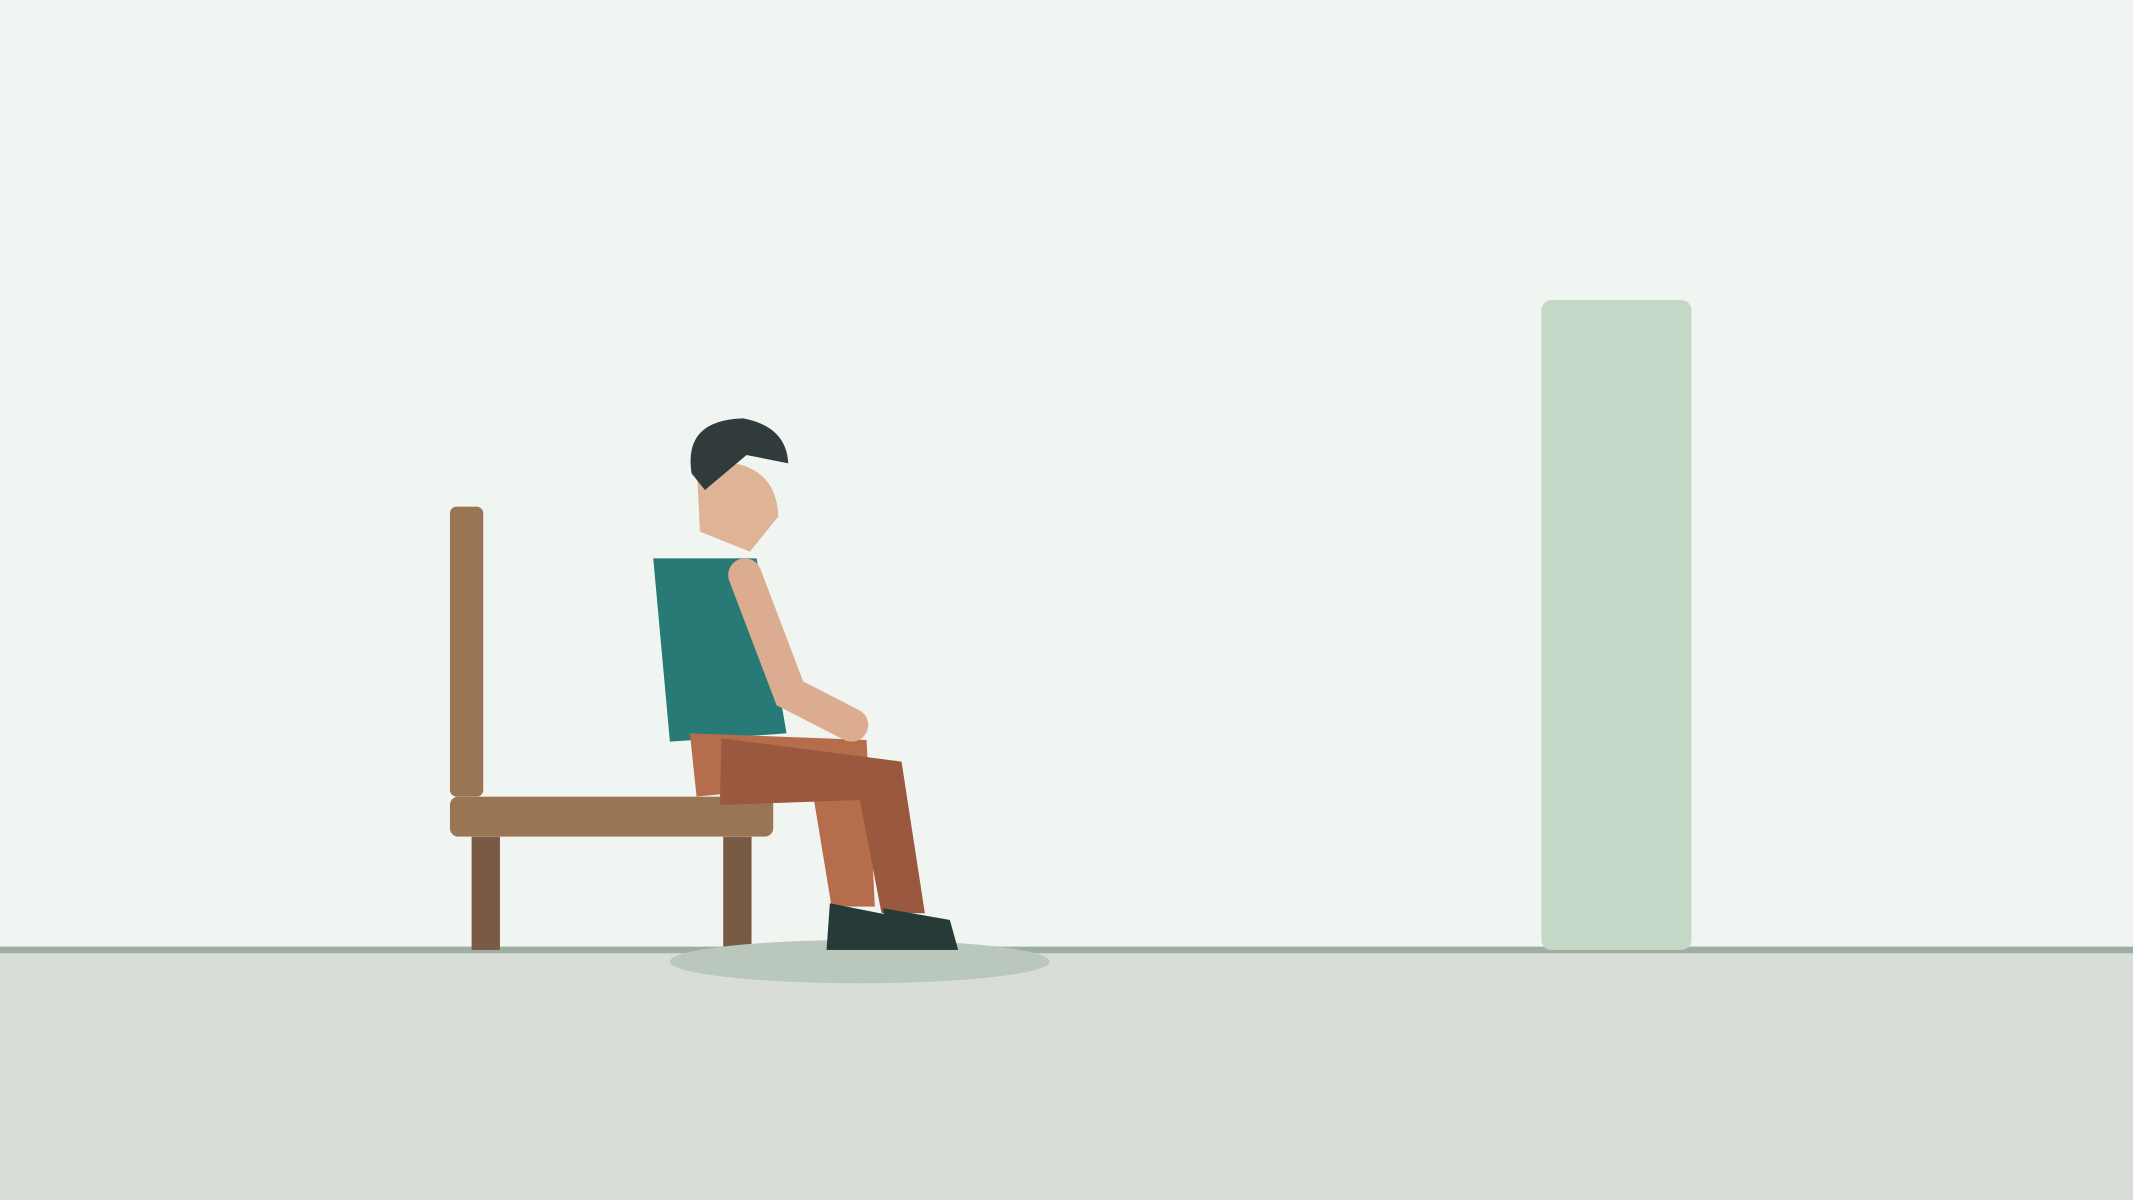
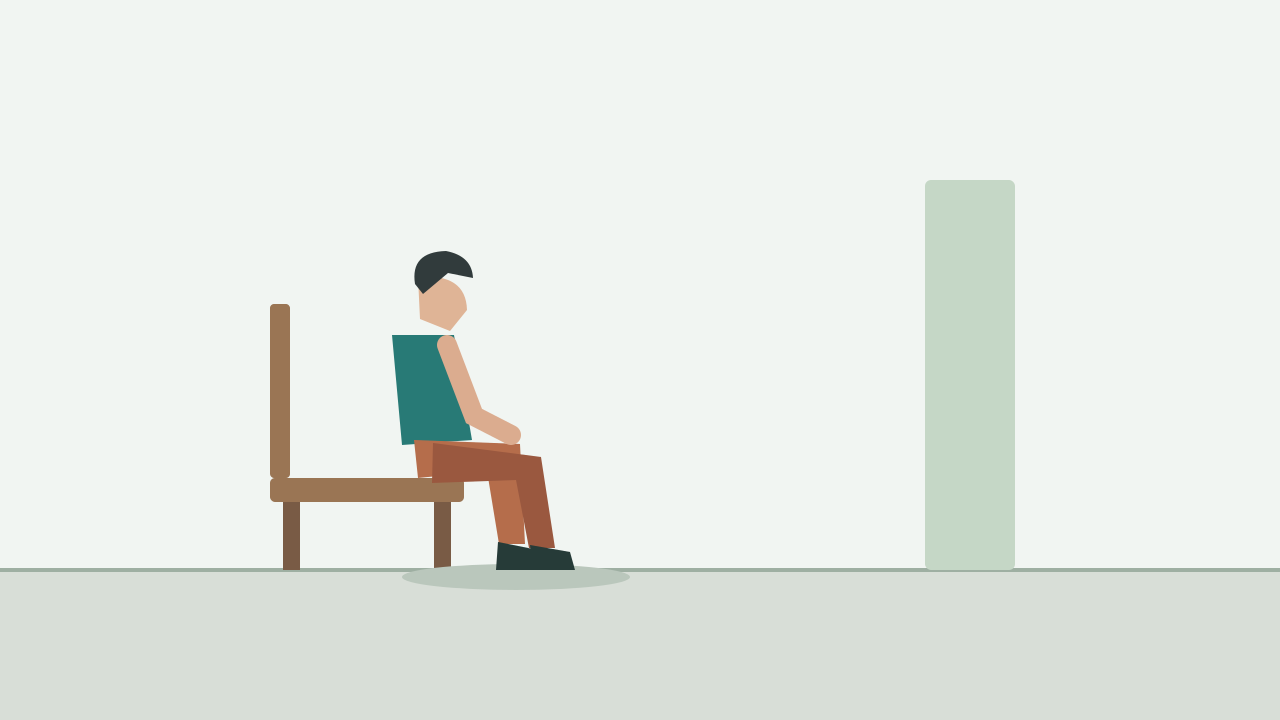
Begin from the uploaded side-view scene. The adult is seated on the wooden chair with both shoes resting on the floor. In one slow continuous action, the torso leans forward slightly, weight shifts over the feet, the hips leave the seat, and the knees and hips extend until the adult stands upright beside the same chair. Both feet keep their original floor contacts. Arms remain relaxed without pushing on invisible supports. The chair and camera remain stationary. End standing comfortably with the seat visible behind the adult; do not sit down again.
Locate the seat under the hips and the two soles on the floor. If any contact is hidden, adjust the source crop before adding a more detailed motion sentence.
Put the forward lean before seat clearance and extension. Avoid a request to jump upright, which removes the gradual support transfer the exercise is intended to inspect.
Inspect the first visible gap above the seat. Check that the chair stays intact and the body does not pass through its edge; follow the shoes during this transition.
Compare the final planted feet and chair to the starting frame, then play the rise at normal speed. Record whether the visible action reads as one rise rather than a cut or a floating lift.
Change only the action sentence to emphasize the forward weight shift before the hips leave the seat; retain the fixed view for comparison.
Reduce only the forward reach of the torso and restate the original foot contacts. Recheck the lift interval before replacing the input.
Make only the chair’s fixed structure explicit. If its seat is obscured in your replacement image, use a clearer side view rather than multiplying anatomical instructions.
End with one stable standing pose and an unchanged empty seat. Keep a note of the seat-release frame and any foot slip; do not use the clip to judge a real person’s physical ability.