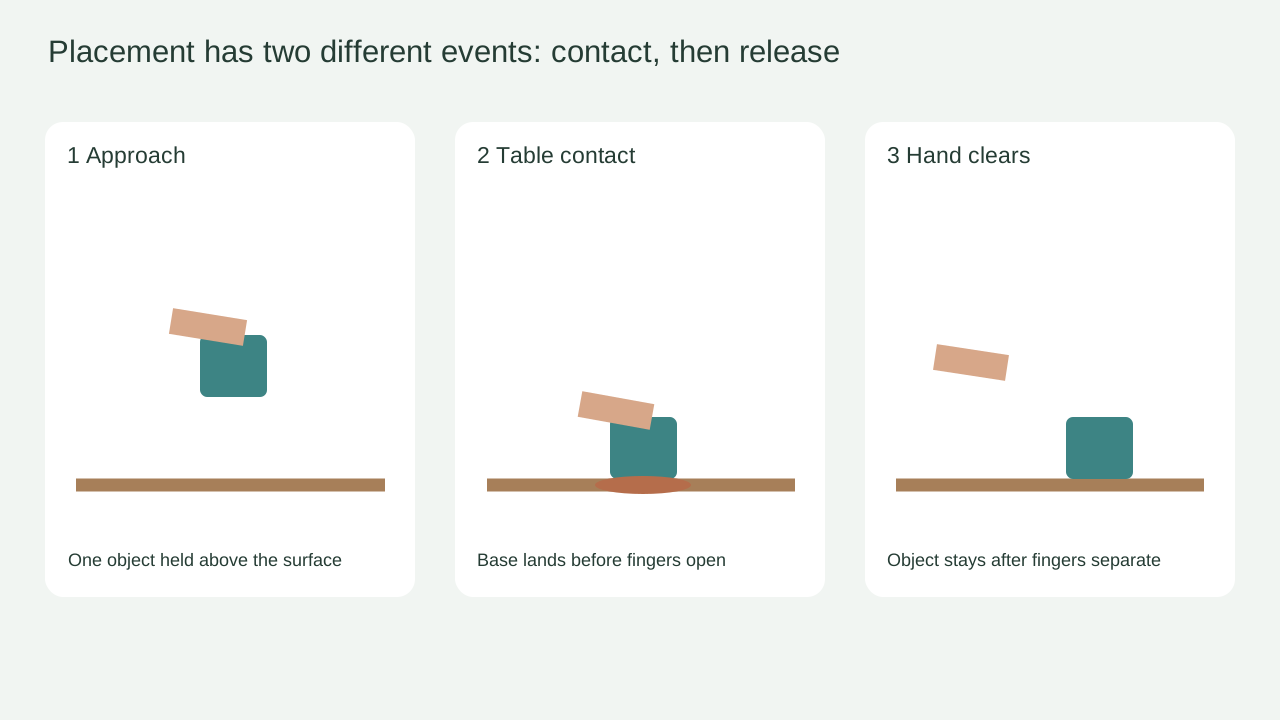
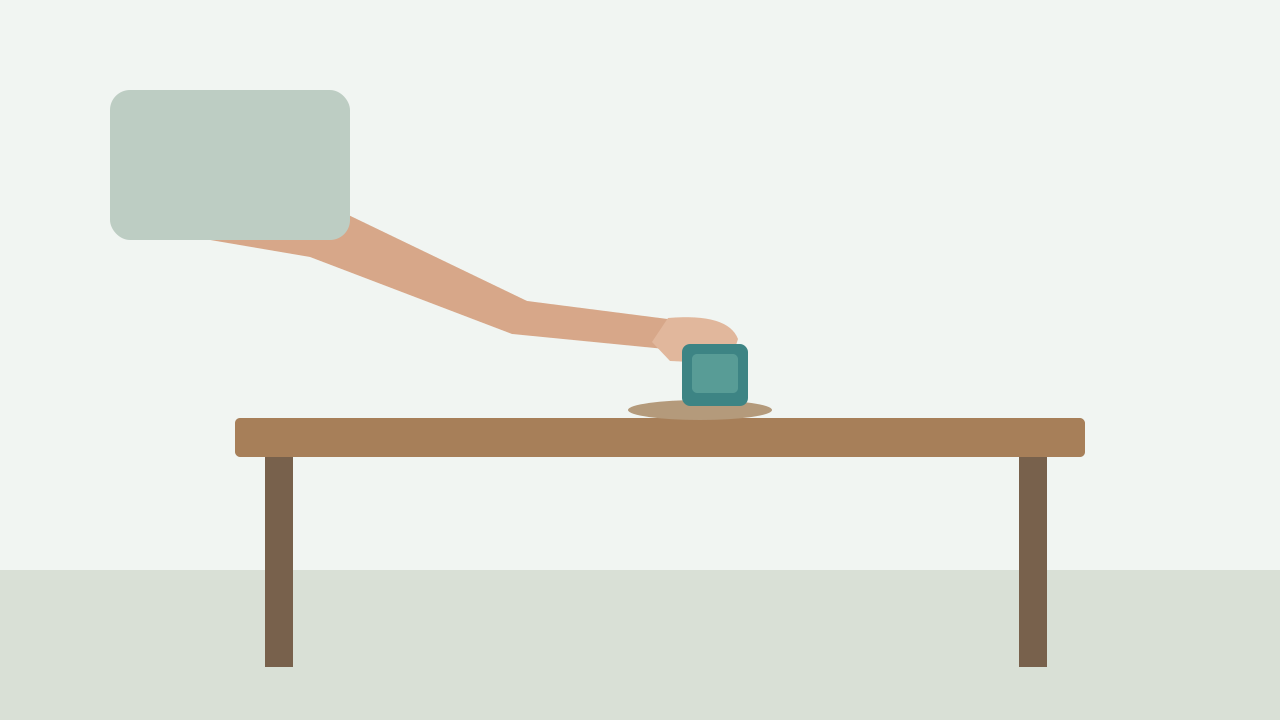
The cube is released while still floating
Change only the order sentence: maintain the grip until the base meets the table. Recheck contact before adding any faster movement.
Task template
Bring the teal cube to the tabletop, establish contact, release the grip and withdraw the hand while the cube remains. The task evaluates visible contact order, without claiming a physically simulated grasp.
Includes original practice inputs and a review checklist. This prompt has not been independently tested with the generation model.
Download the input image below and upload it manually in the generator; the button carries the prompt.
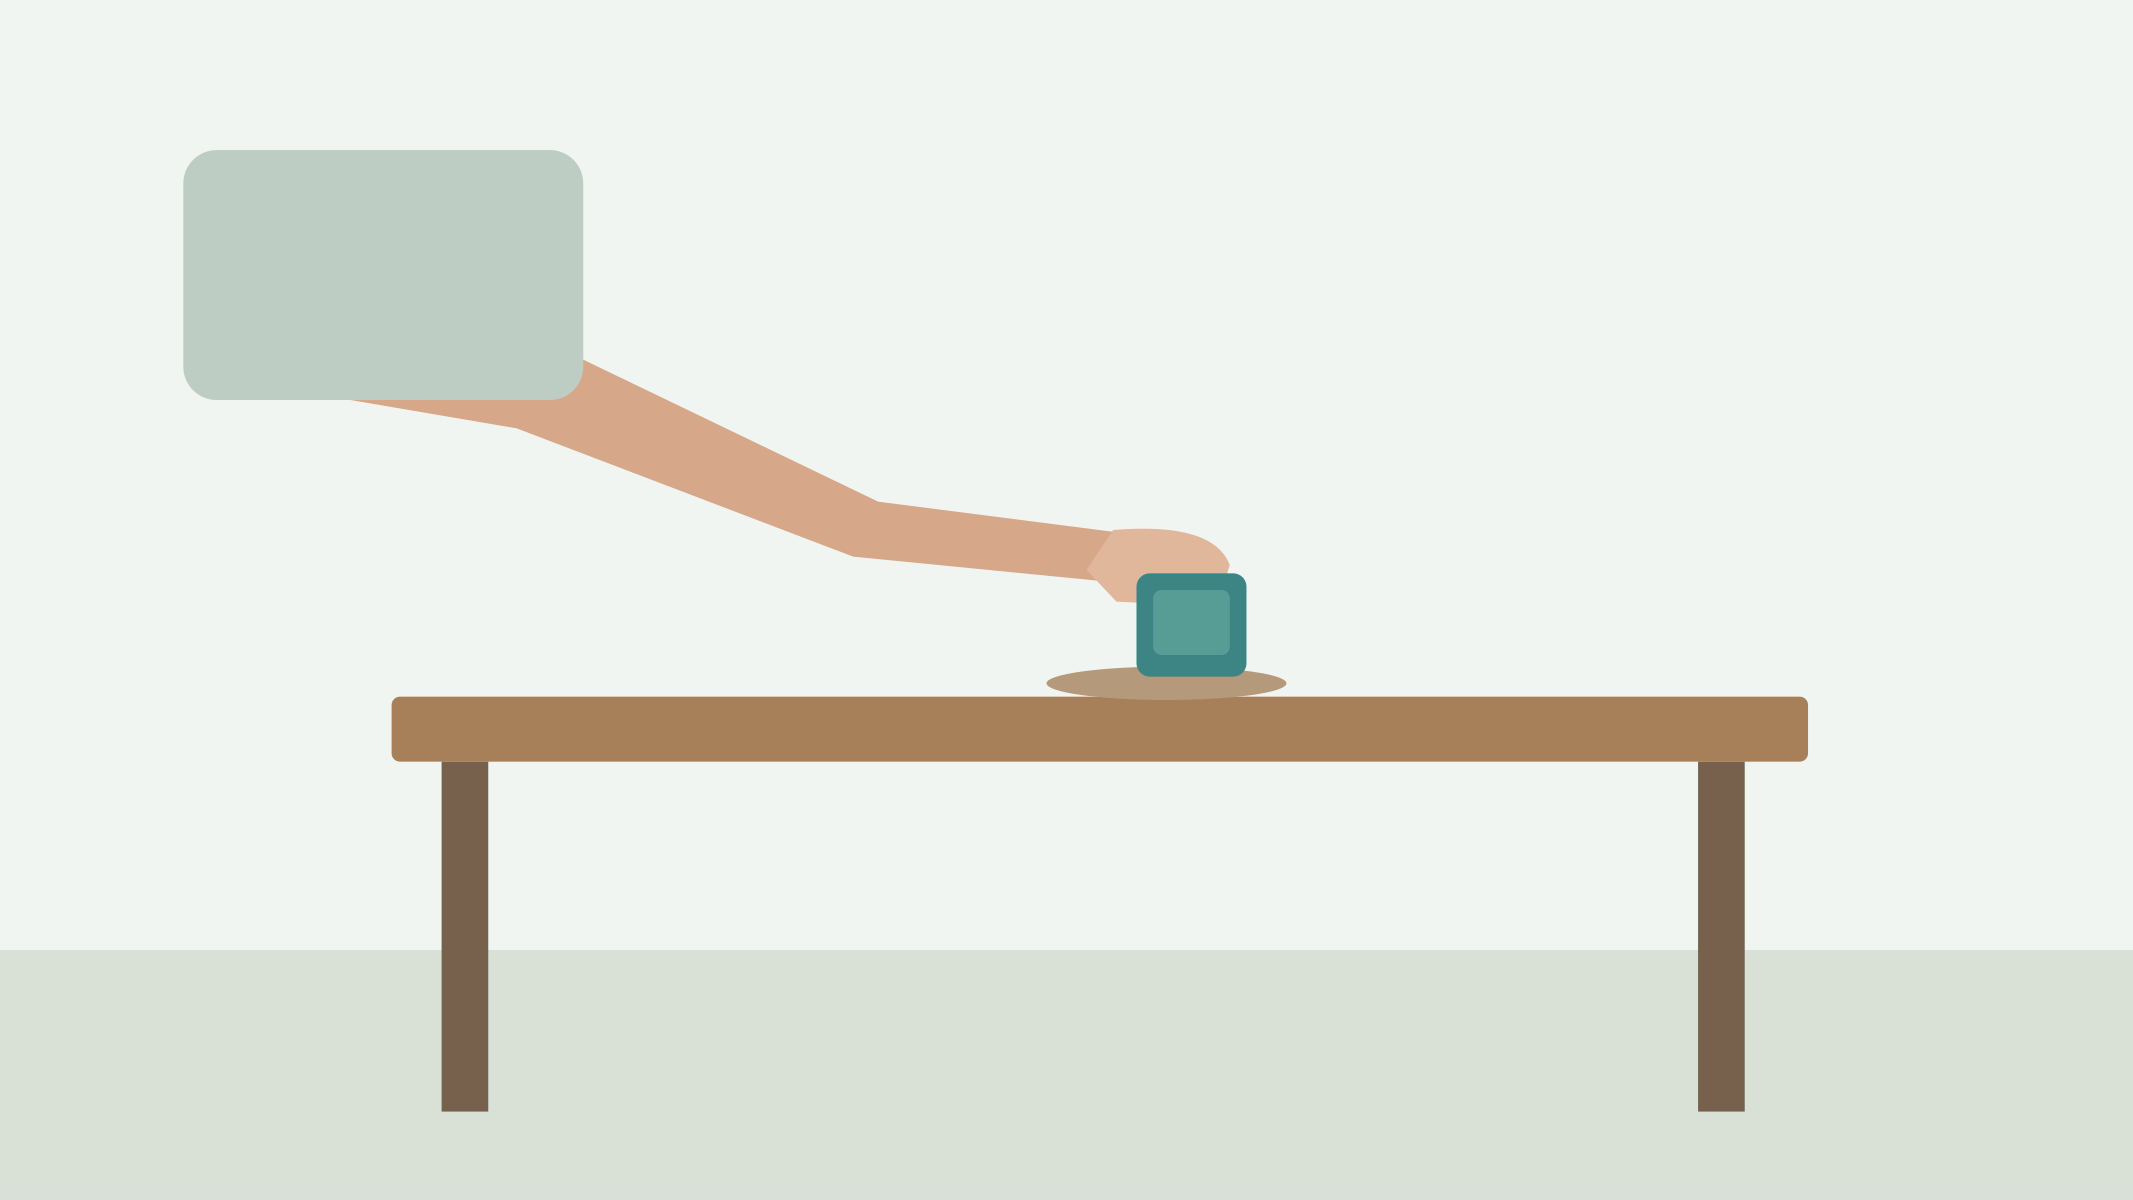
Start from the uploaded scene showing one hand holding the teal cube above the wooden table. Lower the cube gently until its flat base meets the visible tabletop. Keep the fingers holding it until contact is established, then open the fingers and withdraw the hand toward frame left. The cube remains upright in the same landing position after release. Keep the cube’s size and solid outline unchanged and keep the table and camera fixed. Show one placement only, ending with a clear gap between the resting cube and the hand.
Name the visible tabletop and leave it empty. Compare the initial cube base to that surface so a floating ending is easier to identify.
Write the base contact before opening fingers. A generic “put it down” gives fewer observable stages to diagnose if the cube falls or the hand vanishes.
Pause when a gap appears between fingers and cube. Check that the base is already supported and that the fingertips neither fuse with the side nor cut through the top.
Watch the last interval with the hand clear. Keep the cube’s position, orientation and count under review; a correct-looking landing can be followed by a slide or duplicate.
Change only the order sentence: maintain the grip until the base meets the table. Recheck contact before adding any faster movement.
Reduce only the grip-opening amplitude and ask the hand to clear sideways; inspect the first separation frame rather than only the ending.
Strengthen only the post-release resting state. Keep the same landing location and compare whether the cube moves after the fingers have opened.
Finish with the cube resting alone on the table and the hand visibly clear. Save the first-contact and first-separation observations; they explain the failure more precisely than a general realism score.