The shoe slides across the table
Change the fixed-role sentence to name the sole contact explicitly; leave camera direction unchanged and inspect that seam on the retry.
Task template
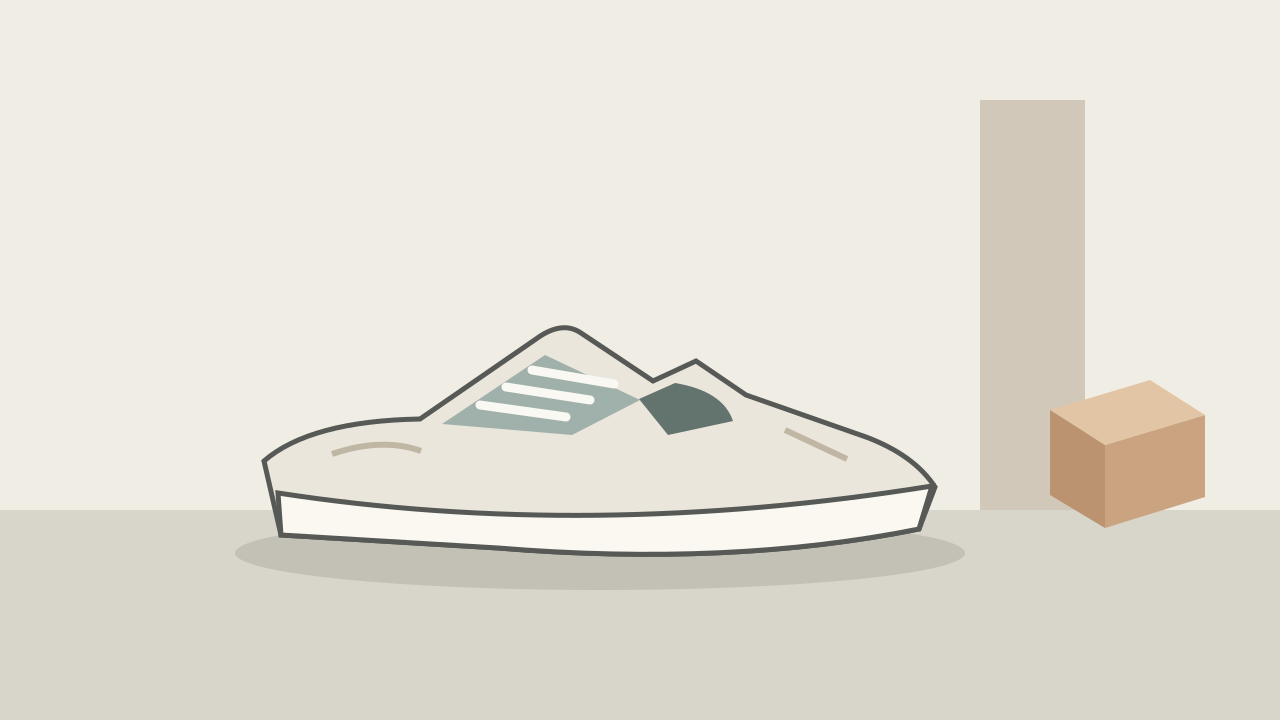
Create one restrained sideways camera slide while a single shoe stays on its display surface. The supplied original illustration is a planning input; this method has not been tested by generating an H3 clip.
Includes original practice inputs and a review checklist. This prompt has not been independently tested with the generation model.
Download the input image below and upload it manually in the generator; the button carries the prompt.
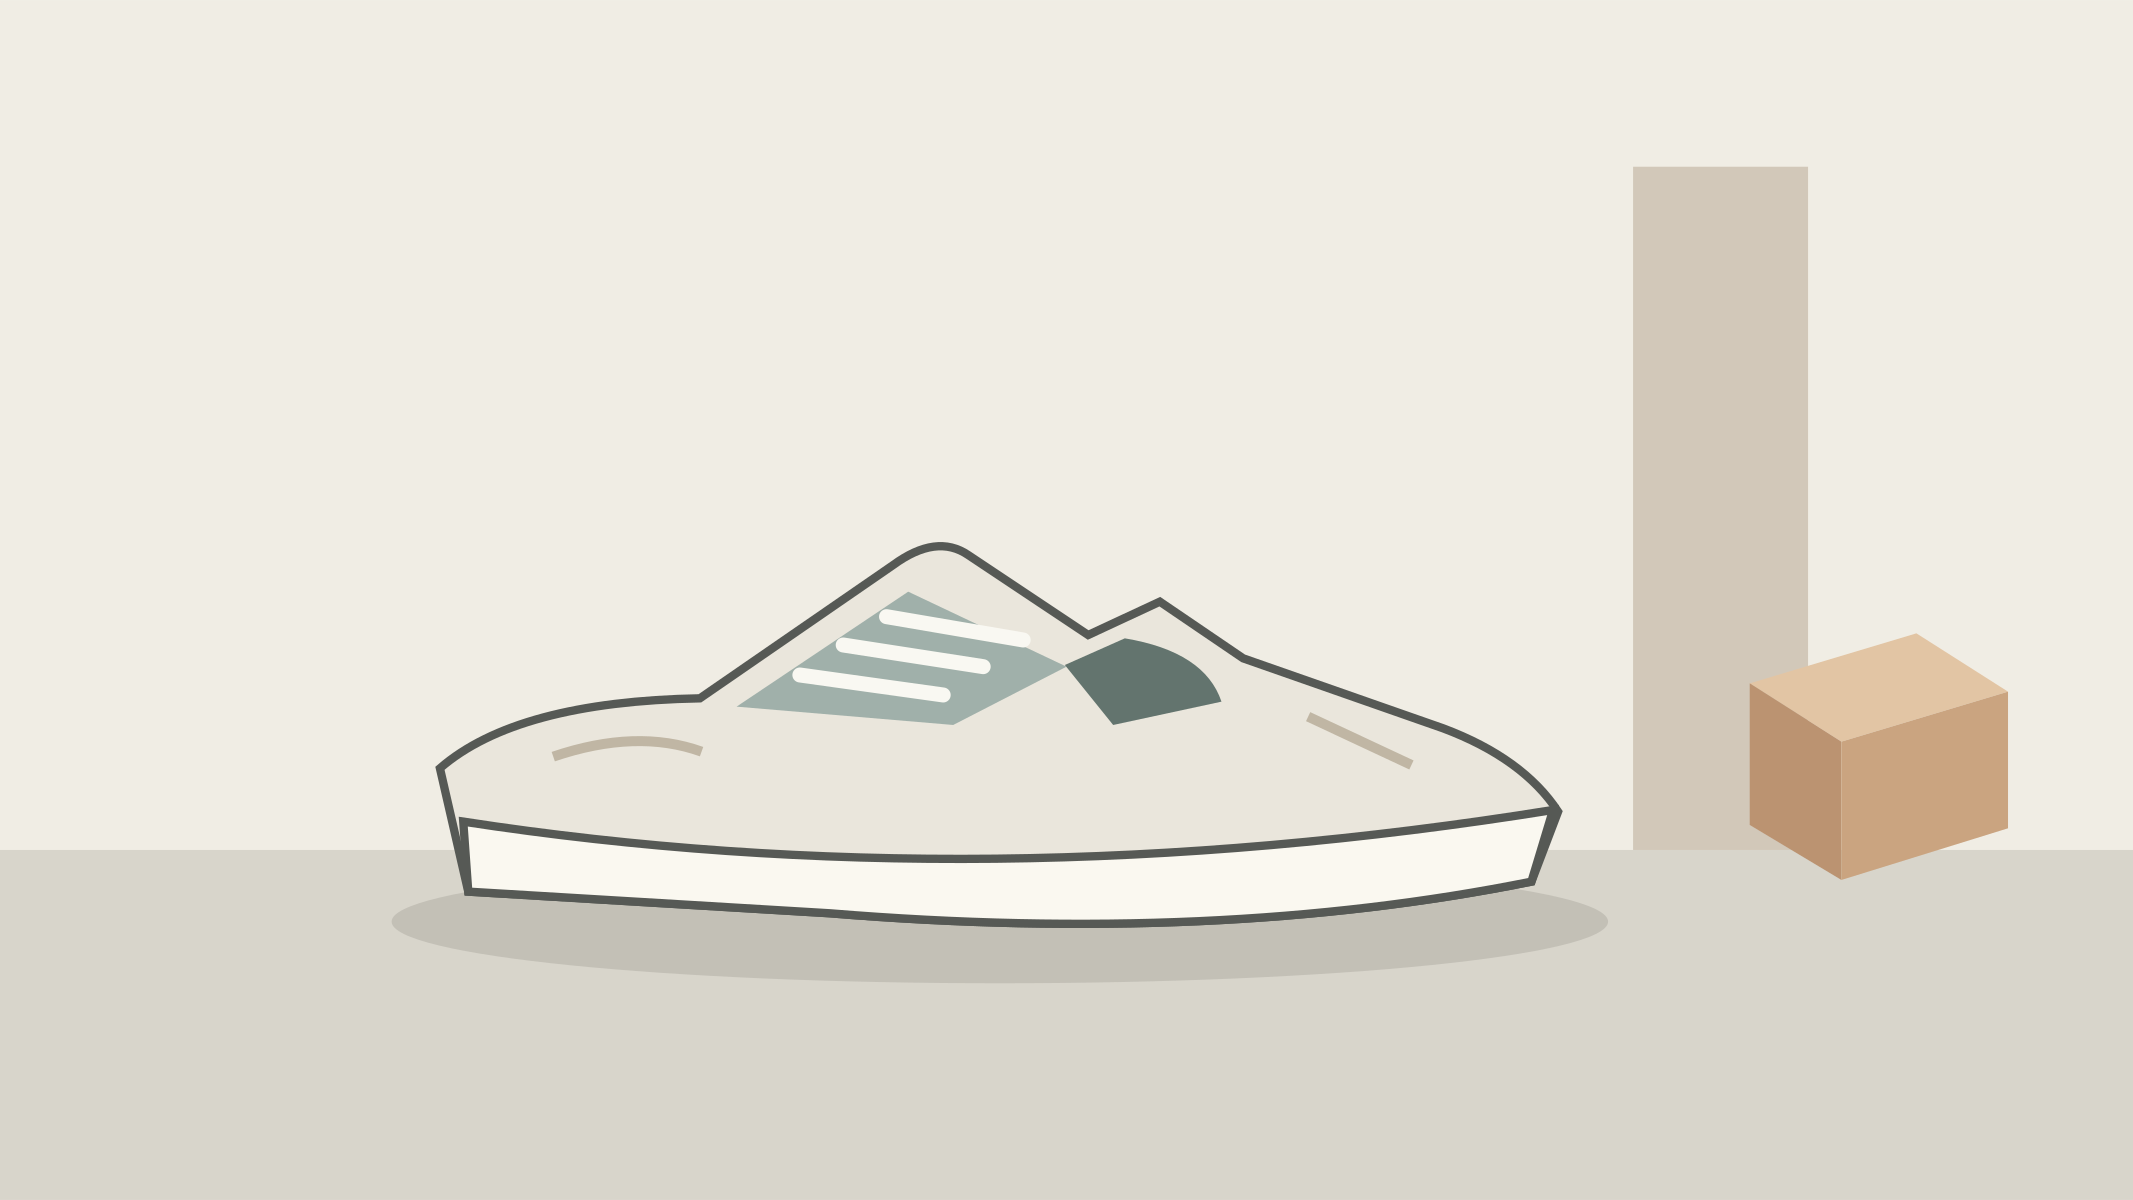
Use the uploaded frame as the starting composition. A single cream running shoe stays planted on the tabletop, with its sole in continuous contact. The camera slides slowly a short distance to the right at the same height, revealing slightly more of the heel. The background panel and small block shift naturally with perspective. The toe length, heel collar, lace count and sole thickness remain coherent as the view changes. Keep the shoe still; do not turn it on a platform. End the slide with a steady hold. Soft fixed studio light, one continuous shot, no added logo or text.
Locate the sole-to-table seam before writing movement. Treat that seam as the planted contact, not a requirement for the shoe to occupy identical screen pixels during a camera move.
Request a short rightward slide at constant height. A slight change in heel visibility should be observable; a full orbit would expose an unsupported inner side and make diagnosis harder.
Pause at the middle and end. Look for a small change in overlap with the block and panel. If only the shoe travels across a completely frozen scene, the requested camera relationship has not been established.
Compare toe-to-heel proportions and the collar shape at all three samples. Accept reasonable projection changes; reject a lengthening toe, a split sole or an extra lace row, then revise the travel amount alone.
Change the fixed-role sentence to name the sole contact explicitly; leave camera direction unchanged and inspect that seam on the retry.
Change only the movement to a short horizontal translation at constant height; remove orbit, spin and reveal-around wording.
Reduce only the travel distance so less hidden geometry is exposed; compare the toe-to-heel ratio again.
Use a first frame with a clearer separated background landmark; retain the same prompt before increasing motion.
Finish with a steady oblique view and the sole still resting on the surface. Save a start/middle/end comparison and record whether the issue was contact, camera path or changing shape.