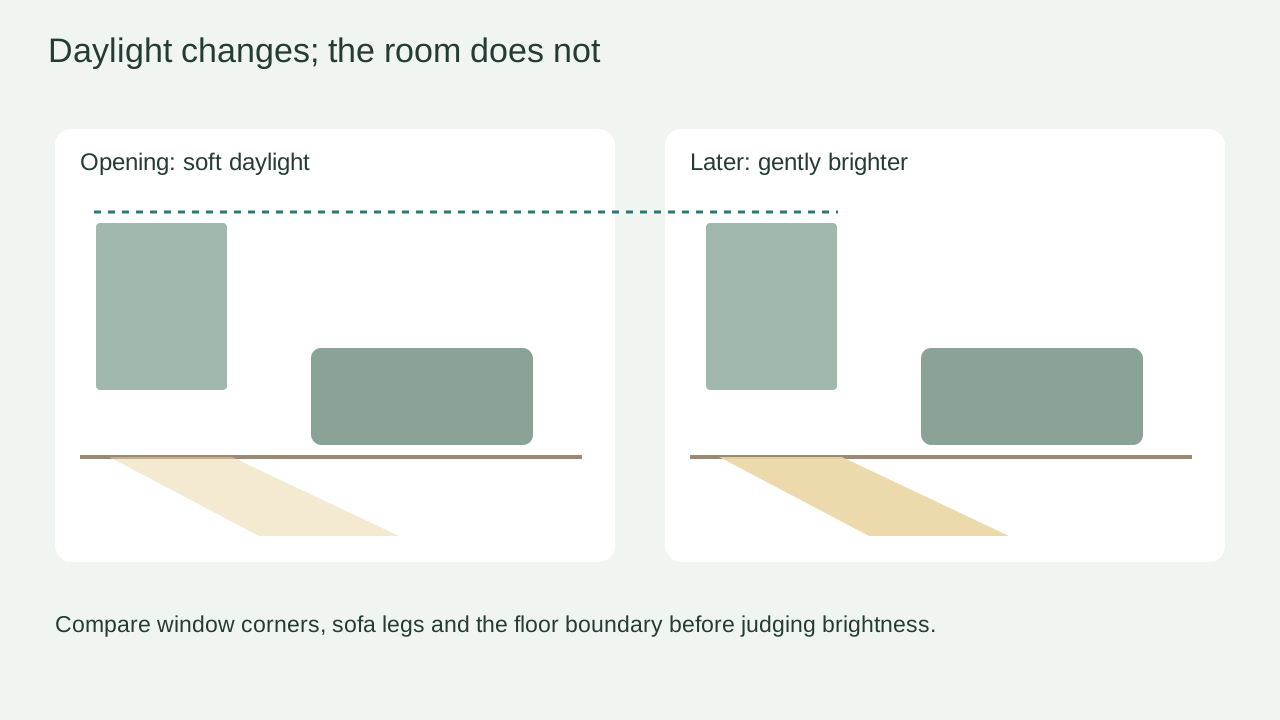
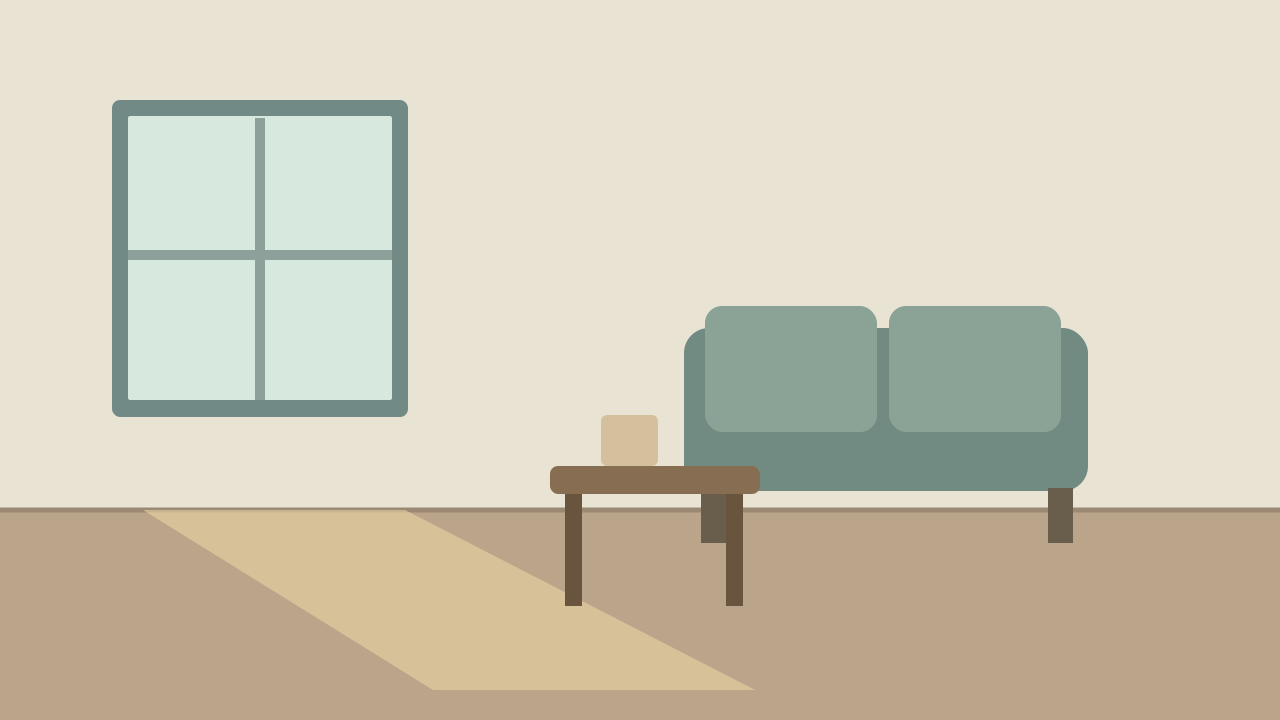
The window grows while the room brightens
Change only the fixed-window sentence and keep brightness amplitude the same. Compare the corner locations, not merely the overall visual warmth.
Task template
Request a gradual brightening of the daylight already entering the left window while the camera and room remain fixed. The fixture is an illustration of atmosphere, not evidence of actual property sunlight or a lighting simulation.
Includes original practice inputs and a review checklist. This prompt has not been independently tested with the generation model.
Download the input image below and upload it manually in the generator; the button carries the prompt.
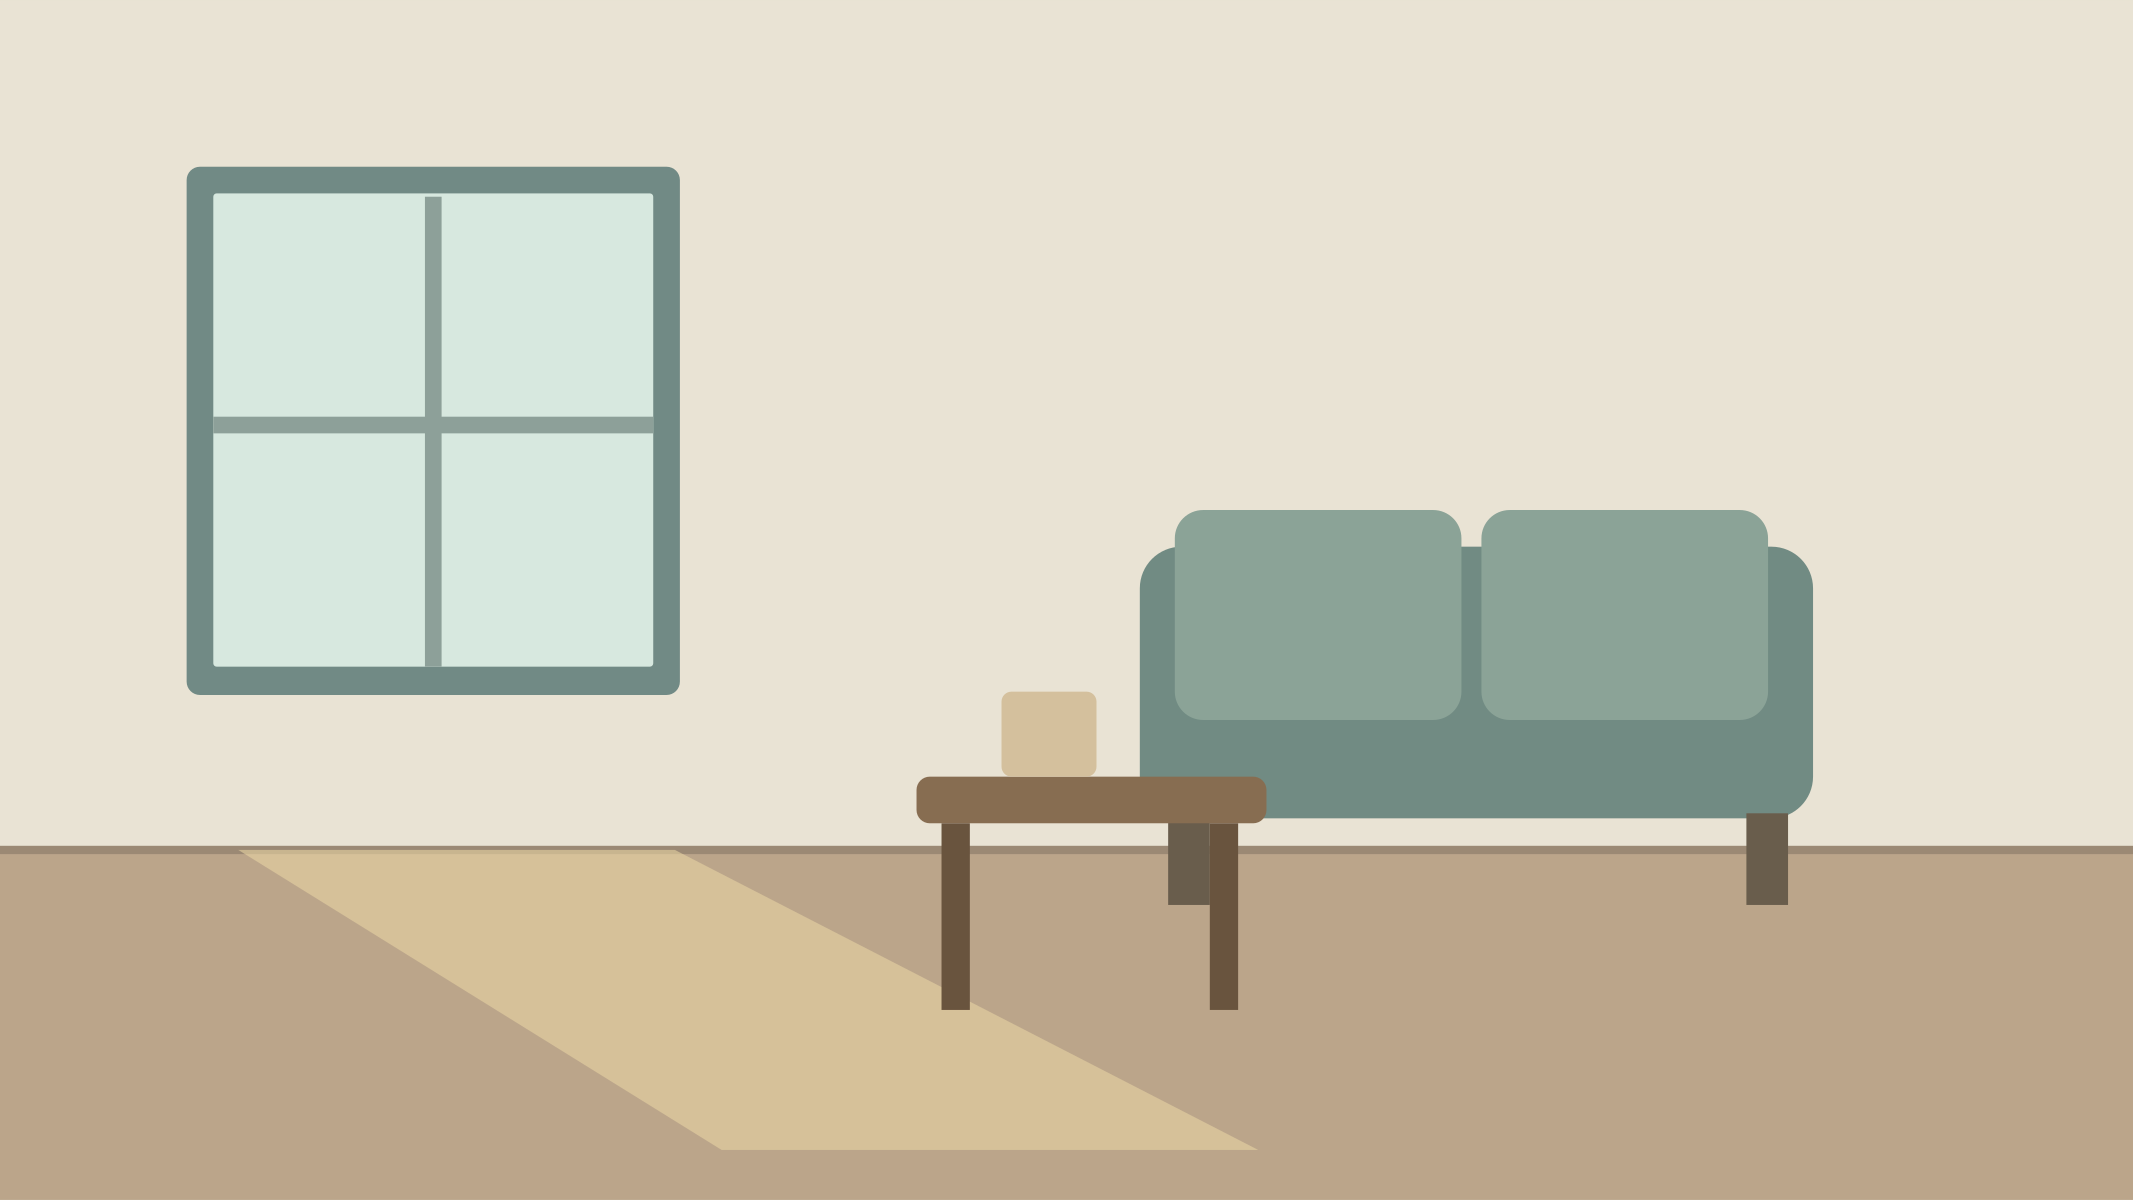
Use the uploaded room as the first frame and keep the camera fixed. Daylight entering through the existing window on frame left becomes gently brighter over the shot. The floor light patch remains associated with the same window and changes softly in intensity without sweeping to a new side. Keep the window frame, walls, floor boundary, sofa, table and objects in exactly their original arrangement. Nothing moves or appears. Keep a natural daytime atmosphere without a sunrise, sunset or night transition. End in a slightly brighter steady room.
Note the four window corners, sofa feet and the table’s nearest edge. Compare these during review before attributing any apparent movement to light.
Ask for gentle brightening from the current window direction. Do not add a new lamp, opening curtains or a moving sun, because each would alter the cause of illumination.
Follow the floor patch and lit sofa surfaces. Their brightness may vary, but their changes should remain compatible with the visible left window instead of creating a second opening.
Review the final room layout against the source and replay for exposure flicker. Save the illumination observation separately from geometry acceptance.
Change only the fixed-window sentence and keep brightness amplitude the same. Compare the corner locations, not merely the overall visual warmth.
Reduce only the requested change to intensity at the current patch; remove time-of-day language before changing the source.
Reduce only the brightening range and retain a gradual steady transition. Recheck the whole clip for flicker rather than judging one brighter still.
End on a calm brighter room and archive geometry and light checks separately. Any real-property claim about sunlight still needs actual dated records or footage.