The camera pushes in instead of changing focus
Change only the camera instruction to locked position and framing; remove reveal or move-closer wording.
Task template
Request one focus handoff between two visible depths while camera and object remain fixed. The original illustration is a conceptual macro input, not a tested H3 optical or lens-control result.
Includes original practice inputs and a review checklist. This prompt has not been independently tested with the generation model.
Download the input image below and upload it manually in the generator; the button carries the prompt.
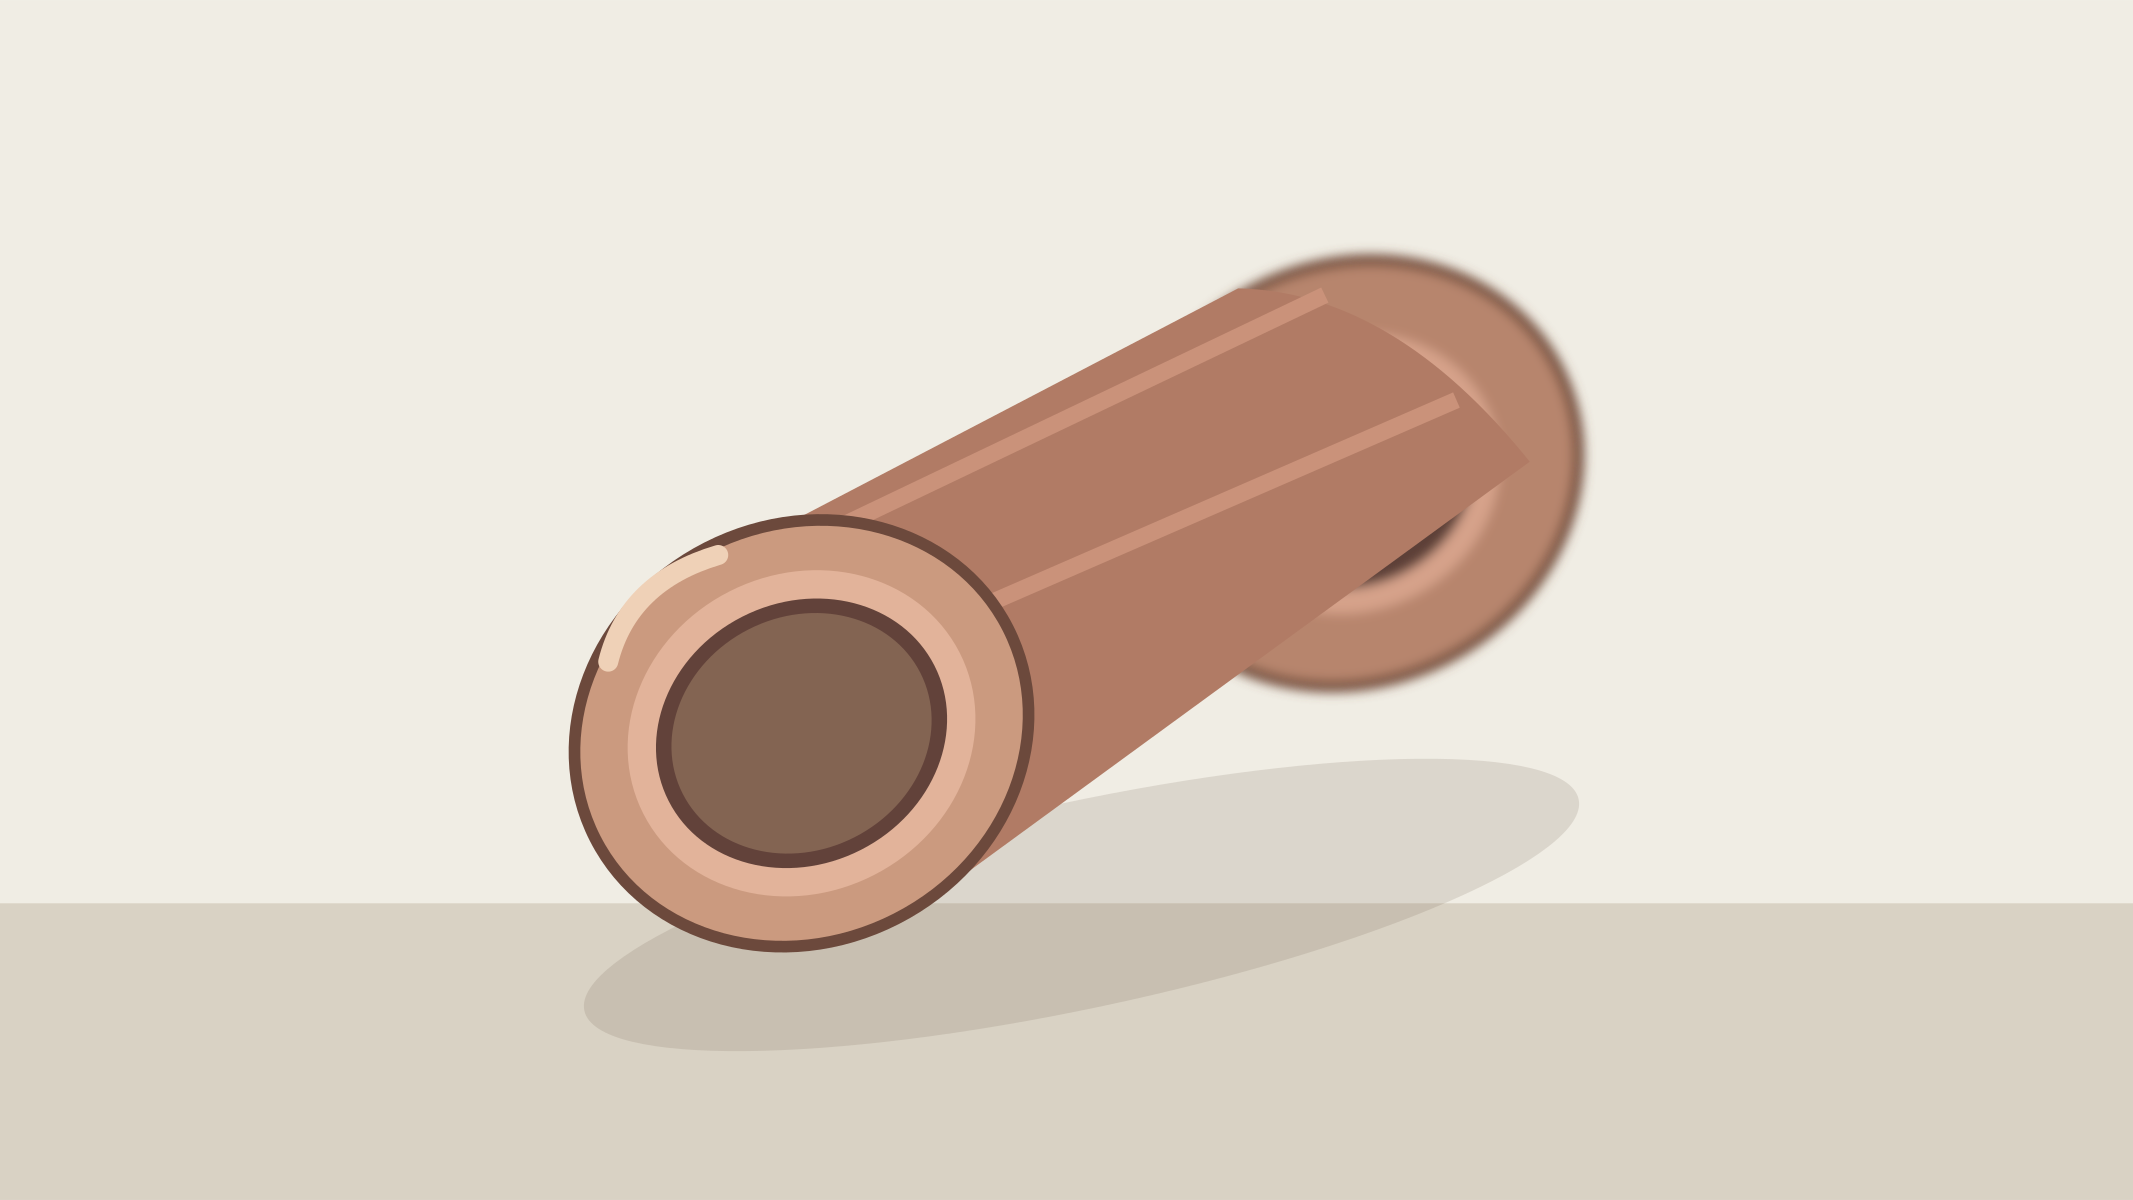
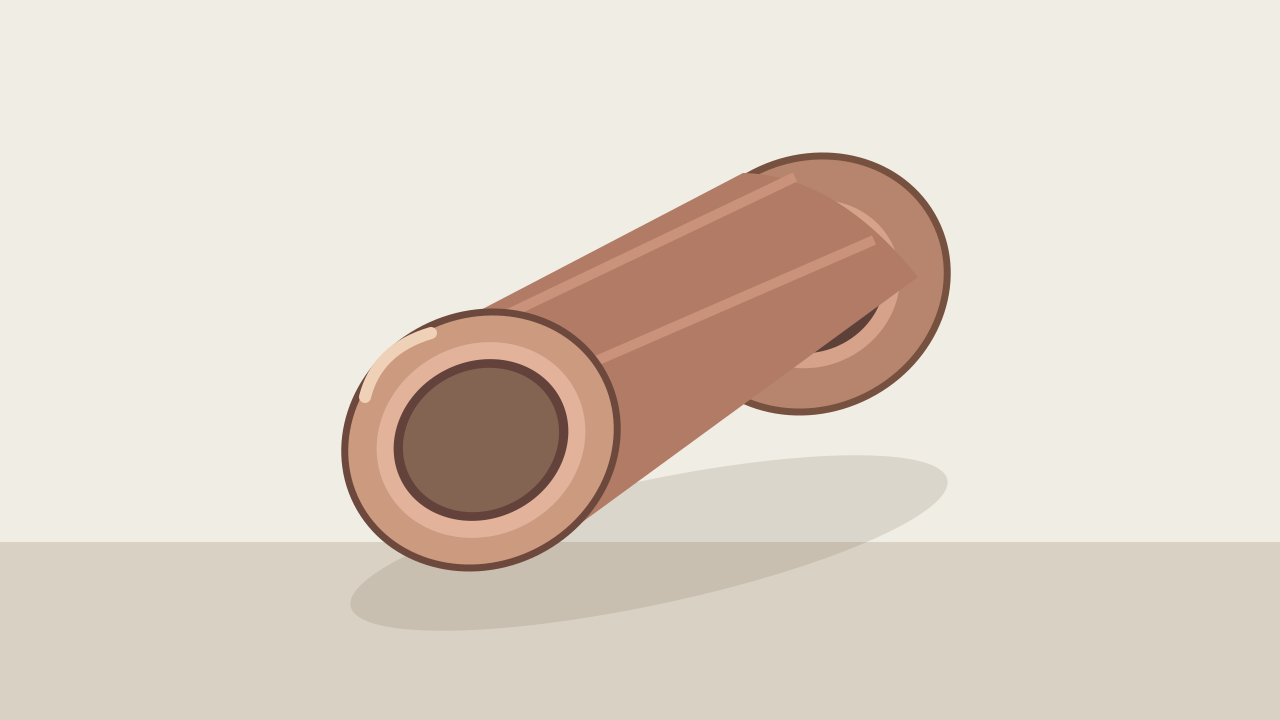
Use the uploaded macro composition. The ceramic sample rests completely still on the tabletop, and the camera position and framing stay locked. At first the near circular rim is sharp and the farther raised collar is soft. Shift focus slowly once from the near rim to the farther collar: the near edge gradually softens as the rear collar becomes clearer. Keep the sample outline, its two openings, surface ridges and contact shadow fixed throughout; blur changes clarity rather than reshaping the object. Finish holding focus on the rear collar. No camera push, no zoom, no object movement, no repeated focus hunting, no added detail.
Identify the near rim and farther collar before running. Both must be visible; the prompt cannot focus on a hidden surface that the source never shows.
Name the object, camera and contact shadow as fixed. The intended change is relative sharpness, so do not combine the exercise with reveal, drift or push-in wording.
Take start, transition and end samples. Inspect the same rim edge and collar edge: near detail should soften as rear detail resolves, while the landmarks keep their positions and shapes.
Check whether the final collar is clearer or newly redesigned. If ridges multiply or the opening moves, reduce the demanded focus contrast or choose a source with clearer rear structure before retrying.
Change only the camera instruction to locked position and framing; remove reveal or move-closer wording.
Change only the focus contrast to near sharp/rear soft, then near soft/rear clearer; retain the same static frame.
Use a source with more readable rear structure while retaining the same focus path; sharpening cannot certify unseen detail.
Change only the ending to one handoff followed by a hold on the rear collar; remove breathing or looping focus language.
End with the rear collar clearer and the original sample still in its starting pose. Save matched crops at both depth targets so a move or morph cannot be mistaken for focus.