The stream passes through the glass wall
Change only the entry target to the open center inside the visible rim; keep the jug motion restrained.
Task template
Create a single small pour from a jug into a glass with visible liquid-level continuity. The original illustration and checks describe an untested visual method, not a fluid simulation or measured volume transfer.
Includes original practice inputs and a review checklist. This prompt has not been independently tested with the generation model.
Download the input image below and upload it manually in the generator; the button carries the prompt.
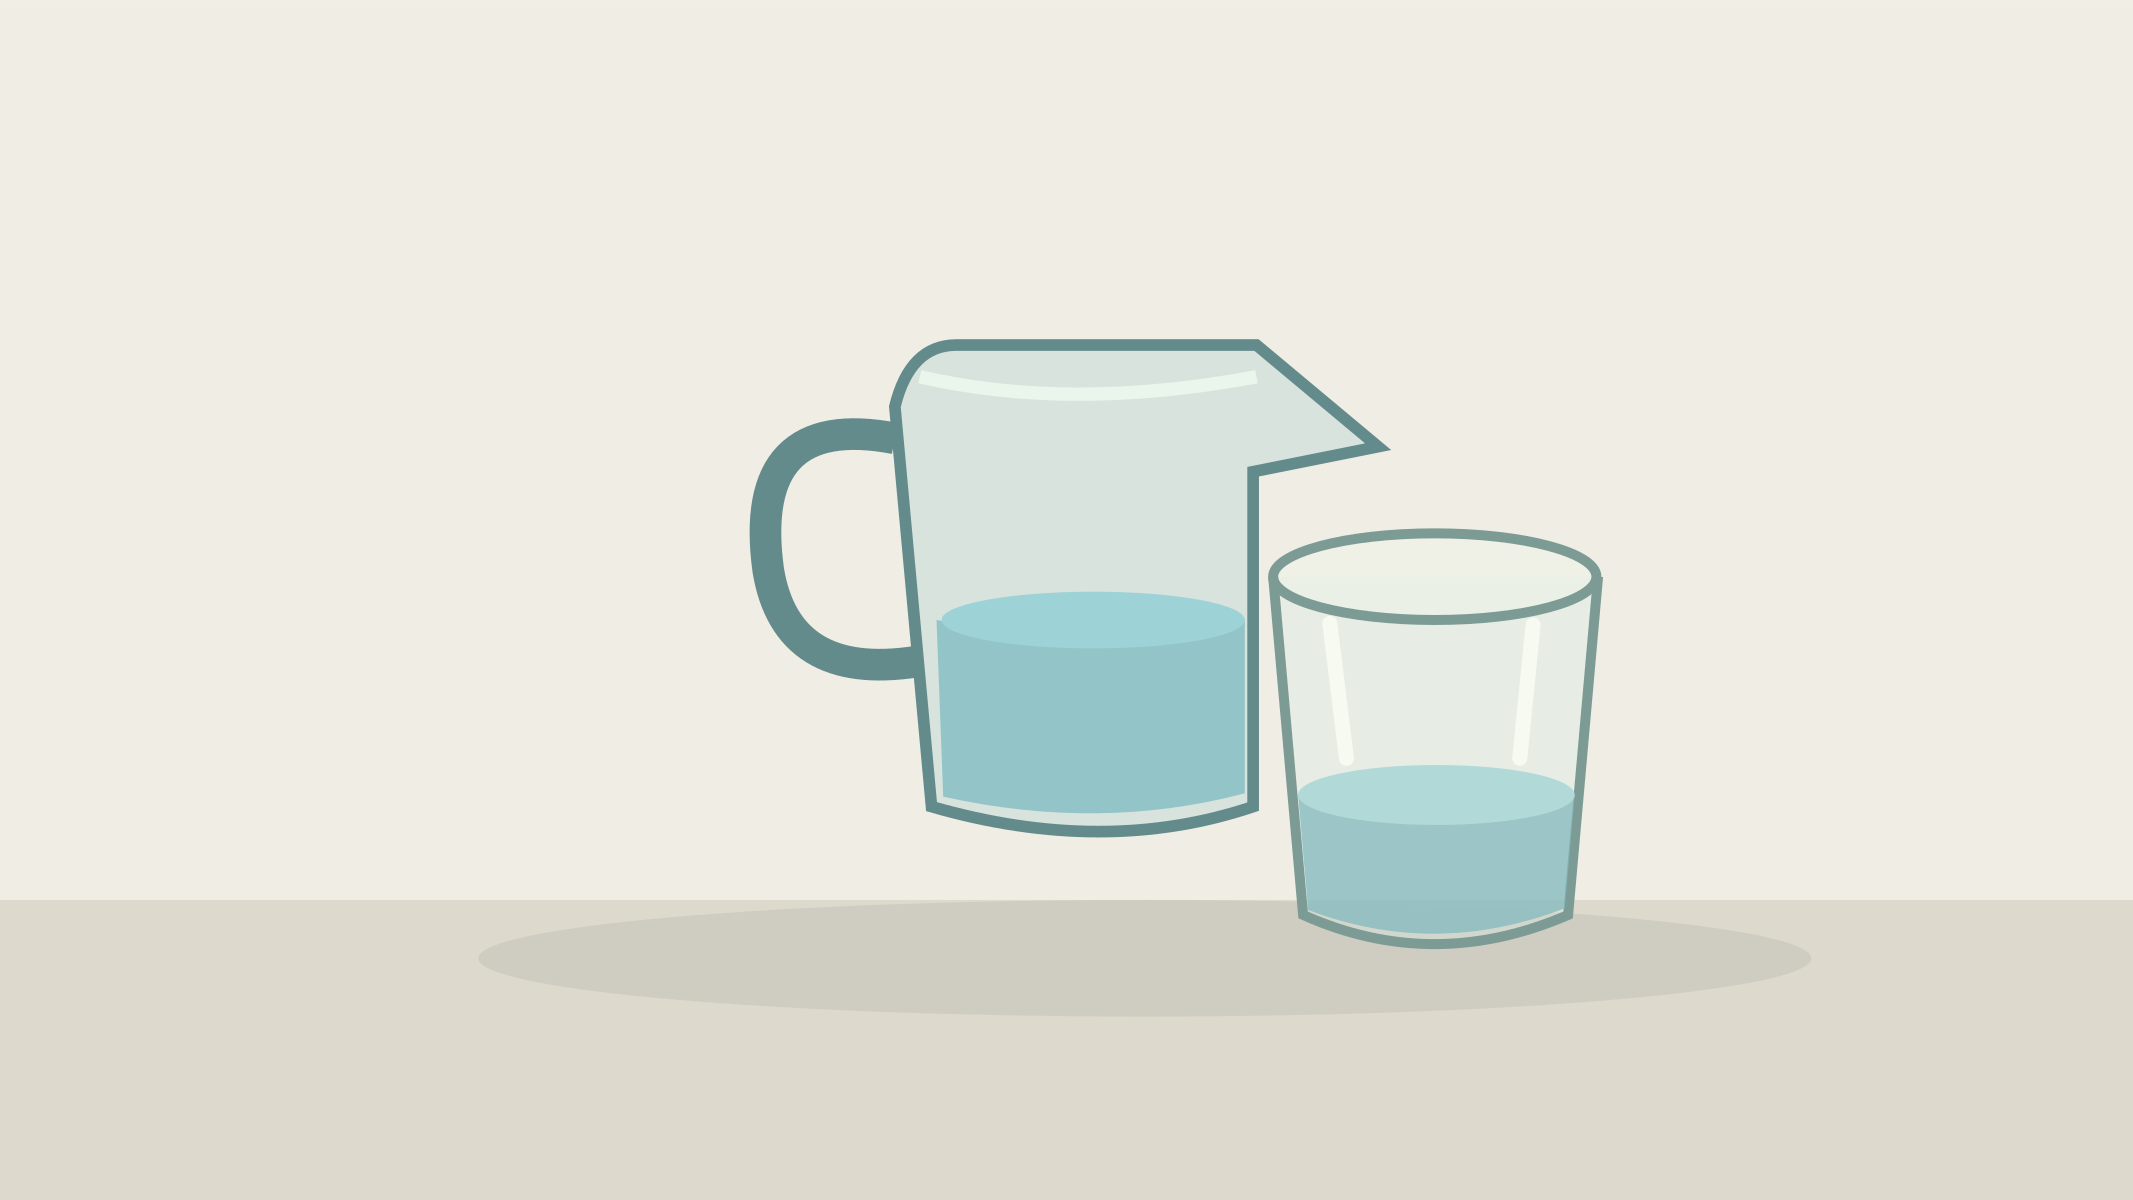
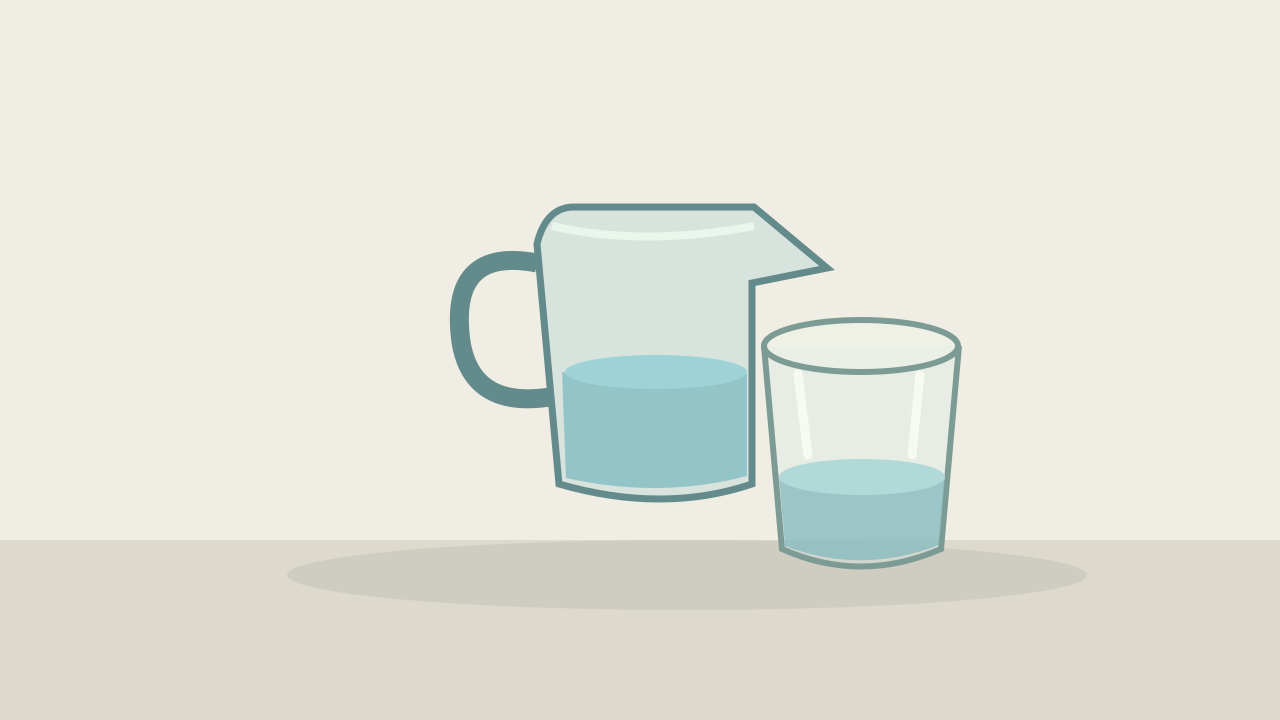
Start with the uploaded jug and partly filled glass. The glass stays fixed on the tabletop with its rim and base unchanged. The jug tilts slightly once and releases a narrow continuous stream from its spout into the open center of the glass. The stream crosses the opening inside the rim, never through the side wall. As liquid enters, the receiving level rises gradually and remains below the rim, with only a small surface ripple. The jug then returns toward upright, the stream stops, and the glass holds its new level. Keep one jug, one glass, fixed camera and lighting; no overflow, no splash burst, no second pour.
Trace a clear route from the spout to the glass opening in the source. If the rim is hidden behind the jug, adjust the input before asking for pouring.
Brief the action as tilt, short pour, then stop. Leave the glass stationary in all three states so a lifting glass cannot disguise an incorrect stream intersection.
Compare before flow, mid-flow and after stop against the same part of the glass. The level should rise during entry and remain at the new height; screen reflections alone do not count as more liquid.
Inspect the moment the jug returns toward upright. Check that the stream ends rather than continuing from a dry spout, and that the glass wall and rim stay intact.
Change only the entry target to the open center inside the visible rim; keep the jug motion restrained.
Reduce only the requested poured amount and compare the same three sampling moments.
Change only the fixed-role sentence to name the base-to-table contact; keep the spout-to-opening route.
Change only the ending to an explicit stopped stream before the final hold; remove continuous-pour language.
End with the jug near upright, no active stream and a settled level below the rim. Preserve samples from each flow state and record visual continuity rather than an invented volume measurement.