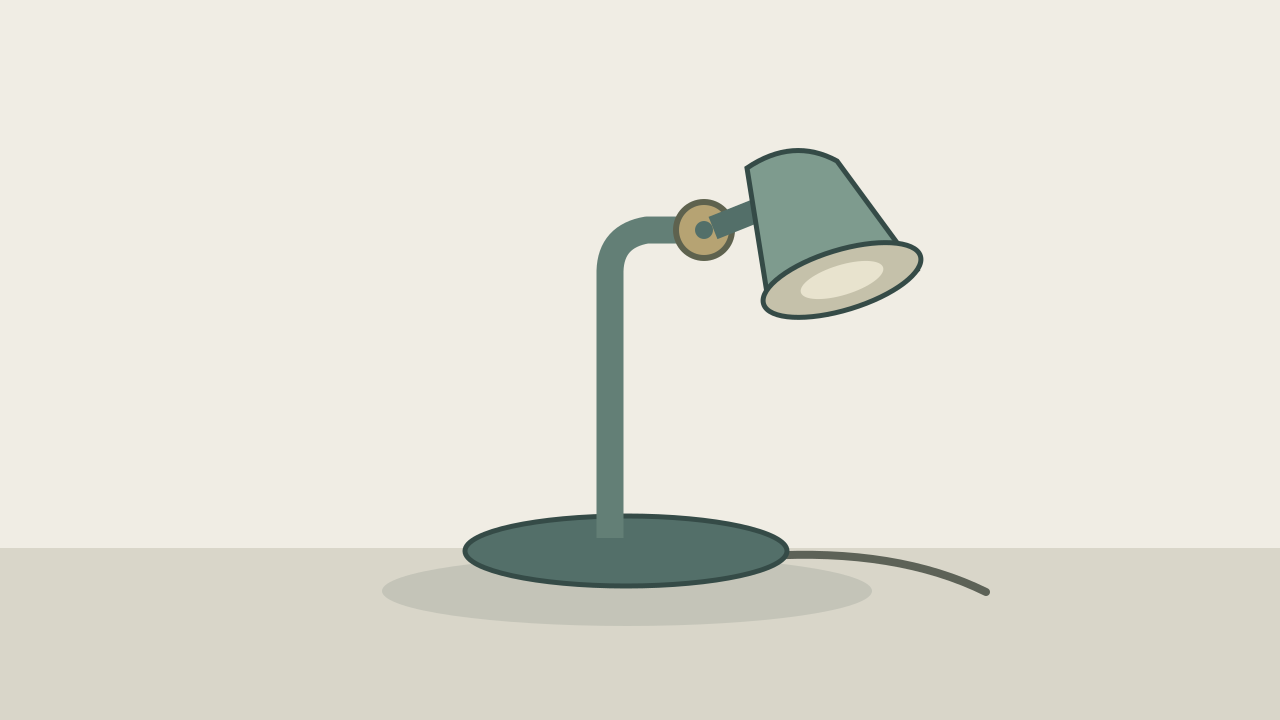
The whole lamp bows or tips
Change only the role assignment to fix the stem and base; keep the small head tilt.
Task template
Create one small downward tilt of a desk-lamp head around its visible neck joint. The original mechanical-style illustration is a planning source; it is not a tested H3 motion or a lamp engineering model.
Includes original practice inputs and a review checklist. This prompt has not been independently tested with the generation model.
Download the input image below and upload it manually in the generator; the button carries the prompt.
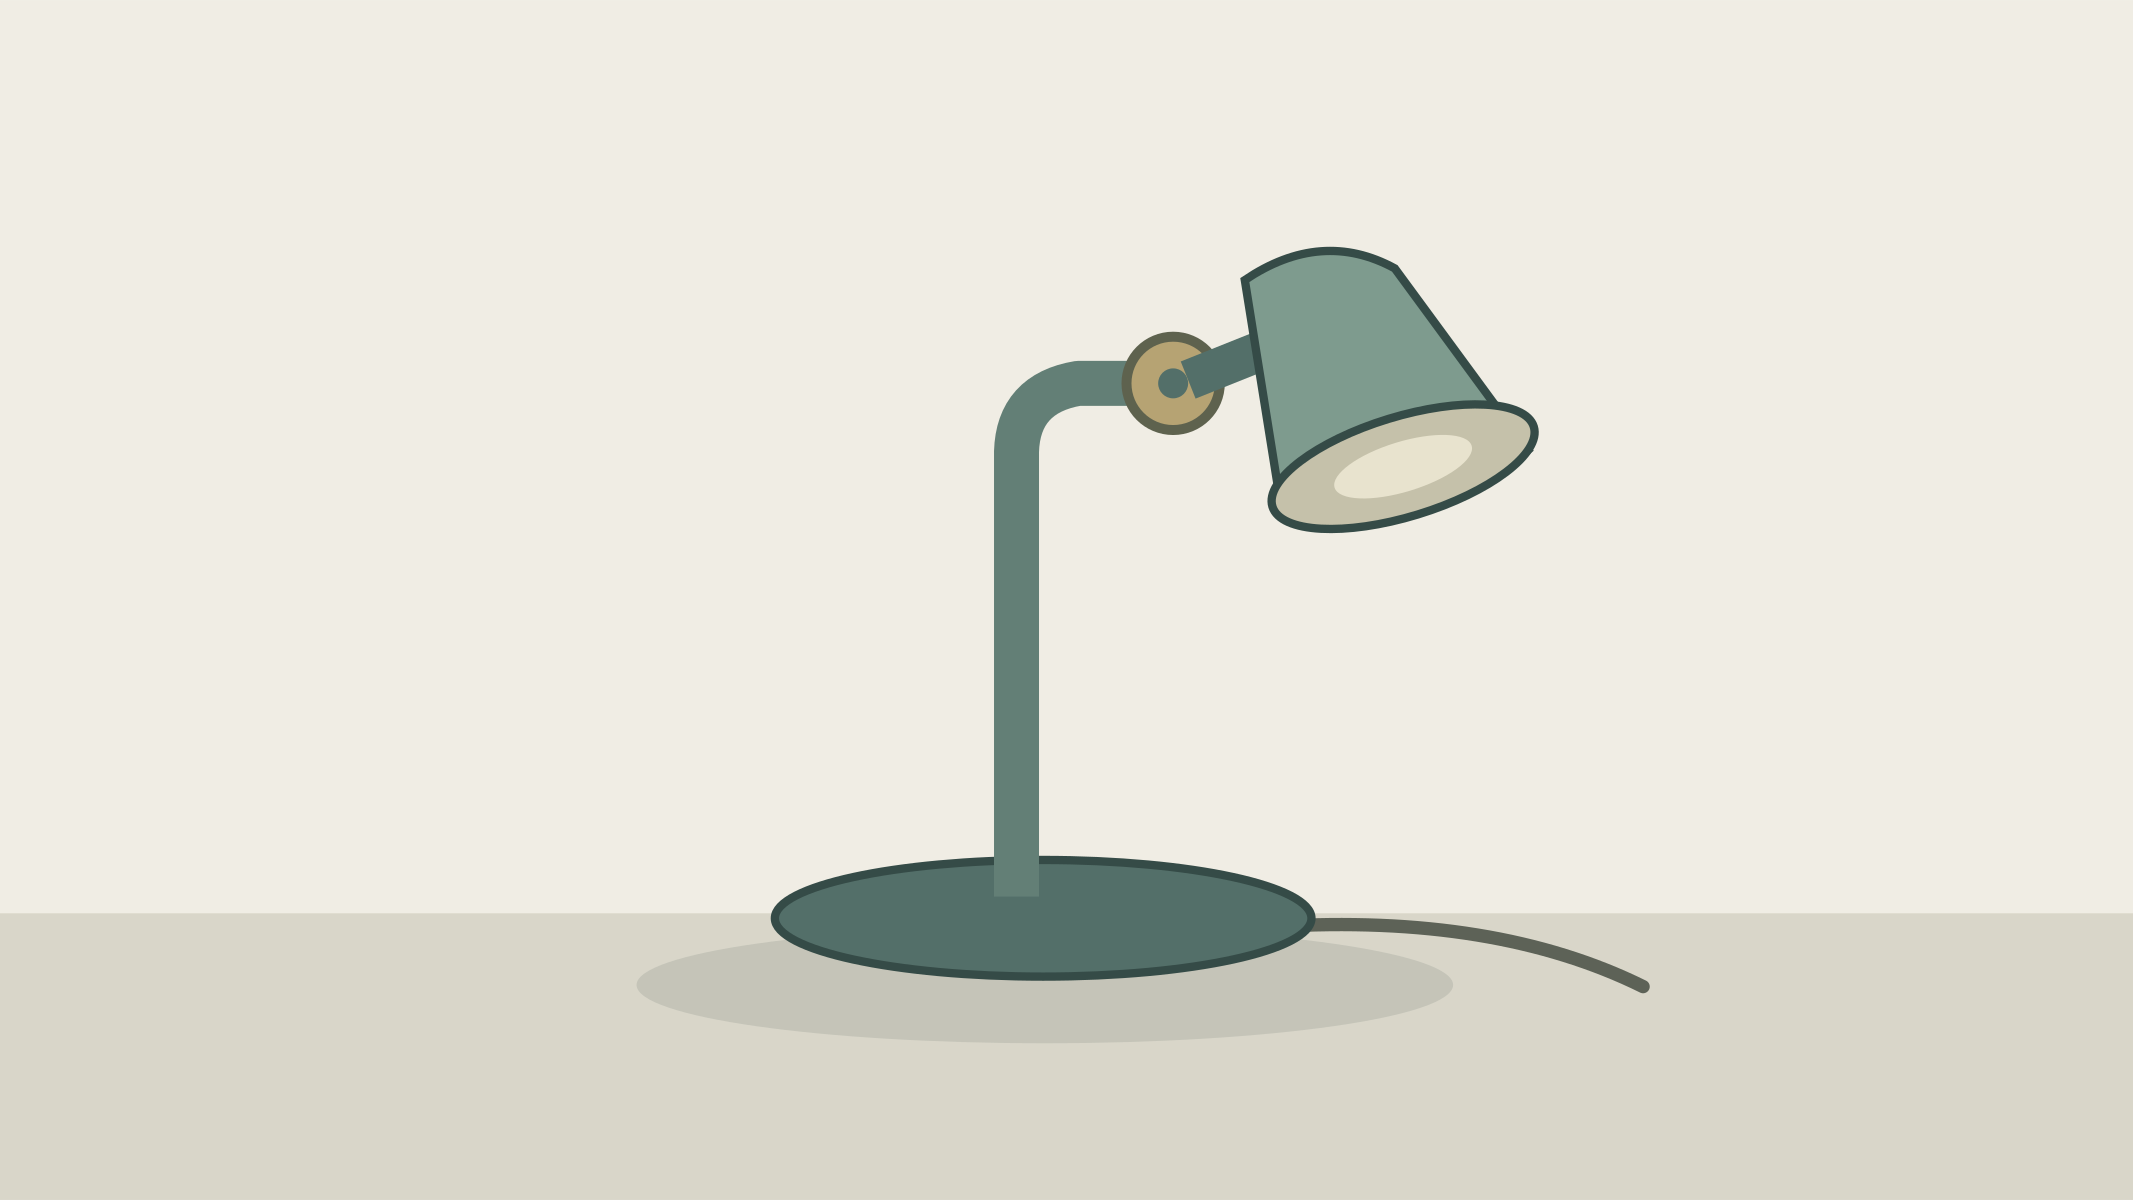
Start from the uploaded unlit desk lamp. The base remains flat on the tabletop; the upright stem and visible cable stay still. Only the lamp head tilts gently downward once around the visible round neck joint. The pivot remains attached to the same top of the stem, and the shade moves as one rigid part without bending or sliding off the hinge. Keep the shade opening and rim shape coherent as its angle changes. Stop at a modest downward angle and hold. The lamp stays unlit, with fixed room lighting and a stationary camera. No arm extension, no base lift, no new joint or cable.
Treat the shade and its short connector as the head assembly. Name the stem, base and cable as fixed; do not describe the entire lamp as bowing.
Find the visible round joint before running. Its connection to the stem should remain in place while the shade rotates about it, rather than translating through the stem.
Compare shade length, opening and connector at mid-tilt. A perspective change in the opening is reasonable; a stretching shade, doubled rim or new elbow is not.
Judge the unlit ending first. If the pivot passes, a later separate lighting study can be planned; this exercise ends with one connected head adjustment.
Change only the role assignment to fix the stem and base; keep the small head tilt.
Change only the joint description to the existing single round neck pivot; remove articulated-arm wording.
Reduce only the tilt amount and recheck the connector at the halfway pose.
Change only the illumination instruction to unlit under fixed room light; keep the motion otherwise identical.
End with the base flat and the shade held at its new angle. Save a close view of the pivot before, during and after the tilt; an attractive beam does not substitute for a connected joint.